Recover
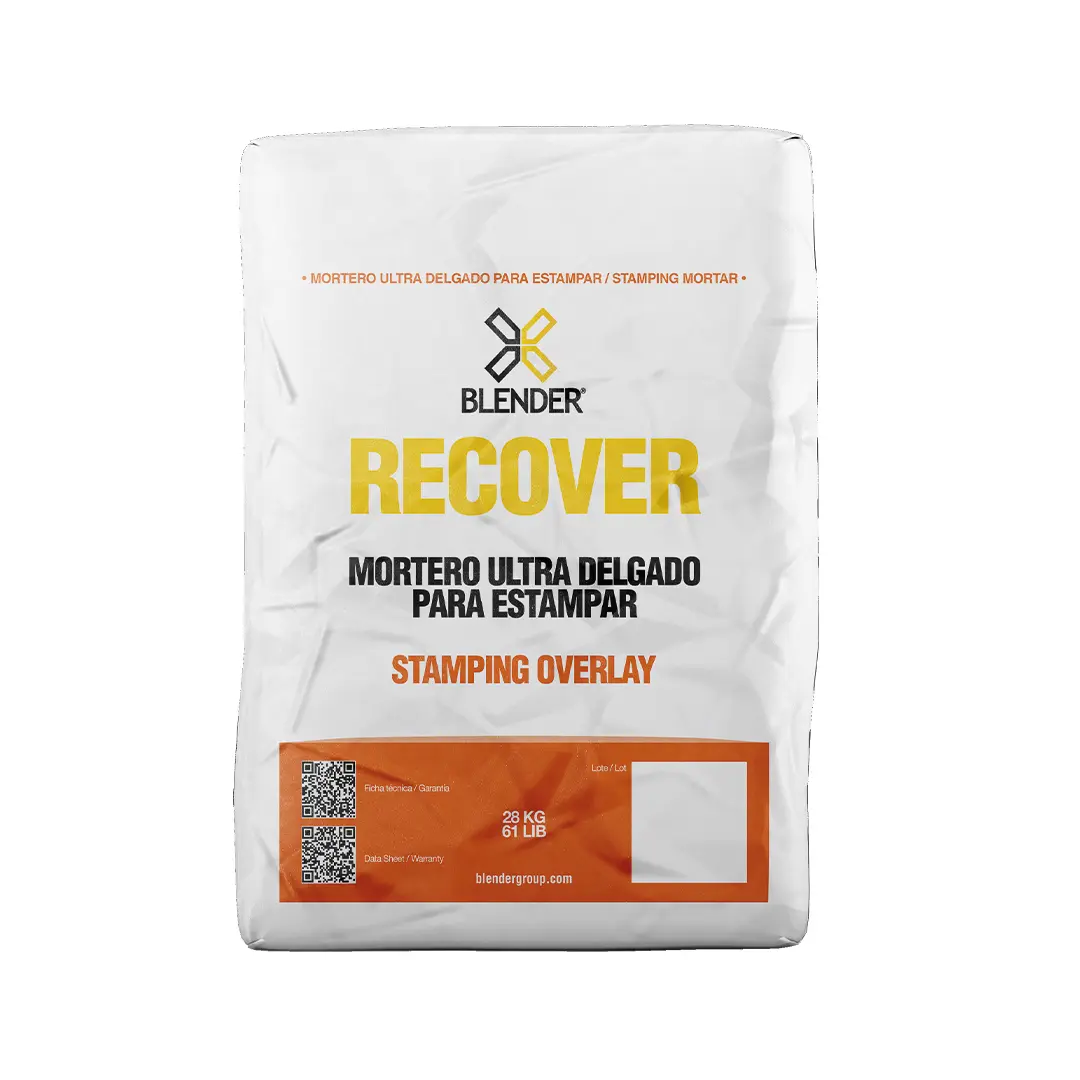
Recover by Blender is a high-performance, single-component, polymer coating mortar, specifically designed to coat and stamp concrete
surfaces.
Packaging | 62 lb Bag (reinforced)
Coverage | Approximately 27 ft² at a thickness of 1/4 in
TDS | click here
$44.45
Recover is a polymer mortar for stamping concrete surfaces. Allowing for the repair and modification of the appearance or functionality of horizontal concrete surfaces.
Recover Features
- Perfect for achieving decorative coating finishes.
- Can be applied both indoors and outdoors.
- Available in 18 standard colors.
- Has excellent adhesion and is easy to install and level.
- Durable and resistant.
Technical Data
ASTM-C387 | compliant
Viscosity | Plastic/fluid
Work time | 20 minutes
Setting Time (ASTM C191) | Initial 1 hour, final 3-4 hours
Weather Resistance | Excellent
Abrasion Resistance | Excellent
Compressive Strength (ASTM C109) | 1 day: 1.5 Psi (10 MPa); 2 days: 4 Psi (28 MPa)
Recover Stampable Application
Step 1 – Surface Preparation
Prepare the surface according to the technical guide ICRI No. 03732. It is recommended to use Blender Citrus® degreaser to clean the surface and remove any contaminants. If necessary, level and repair cracks.
Step 2 – Surface Adhesion
For better adhesion, it is recommended to apply Blender Bond® across the entire surface using a simple roller.
Step 3 – Product Mixing
Use a gas-powered mortar mixer or a drill with a mixing paddle. Mix .057 to 1.320 gallons of water per 62 lb bag until a uniform consistency is achieved.
Next, pour the mixture onto the surface, ensuring that the Recover layer has a maximum thickness of 0.3937 inches.
Step 4 – Application
Pour the Recover mixture onto the surface, ensuring that it has a maximum thickness of 10 mm or 2/5 of an inch.
Step 5 – Product Setup
Wait until the surface reaches a “plastic consistency” – you can gently press with your thumb to check. It should be flexible enough to leave an impression but firm enough to avoid a liquid texture.
Step 6 – Release Agent Preparation
Apply the release agent to the layer of Blender Recover® and to the molds to improve results during 5 the stamping process.
Step 7 – Stamping
Apply one of the more than 50 available molds, along with the rubber tamper, to stamp the desired texture onto the surface. It is recommended to use the tamper tool. Ensure that the entire mold is pressed evenly and completely.
Step 8 – Surface Cleanup
Once the surface is set and dry, it is recommended to wash and clean it to achieve the desired appearance.
Step 9 – Sealing
Once dry, use a roller to apply a coat of Blender Seal Acryl® to seal and protect the surface.
LEarn more about Blender products – click here
Reviews & Ratings
Only logged in customers who have purchased this product may leave a review.


Reviews